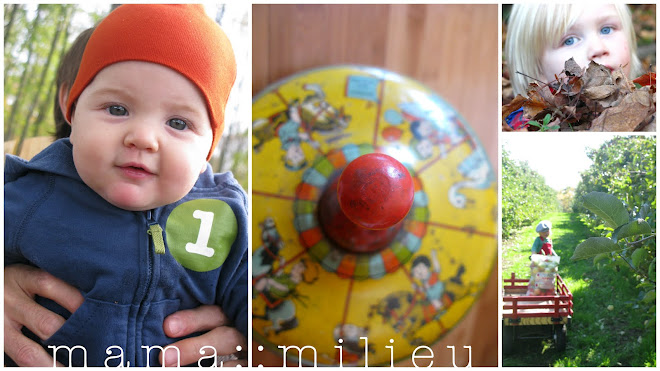
Aside from visiting with tons of family and struggling to keep up with my busy little guy who is taking more and more steps towards his first birthday both figuratively and literally, I am also busy at work putting finishing touches on his birthday crafts that I had begun in L.A.
Because many of our friends' tots back west will also soon be celebrating first birthdays, and seconds, I thought that I would share some of what I've been up to in the case anyone wants to craft together an eco-friendly celebration too! Making your own party decorations not only allows you to customize your party wares down to the smallest detail, but it also makes for an incredibly loving and eco-savvy way to decorate with handmade wares that you'll have to reuse and create traditions with for many birthdays to come.
All of the following craft ideas are surprisingly easy and a whole lot of fun to make! So pull out that sewing machine or needle and thread and craft together a birthday bash!
P.S. I'll be sure to post pictures from the festivities this weekend.
Fruity Birthday Cupcakes
- Okay these aren't a sewing craft necessarily but they are a kitchen craft, indeed! The recipe can be found at my "Feeding Little Foodies" website.


Fabric Flag Banner
- Draw a large triangle on a thick piece of paper, preferably cardstock
- Trace the shapes onto the back of your chosen fabrics
- Place cut out triangles, two-by-two, together front to front--the back side of fabric facing out and the two patterned sides facing in
- Sew along two pointed sides of the triangle leaving the third top flat side unsewn
- Continue to sew flags until you have enough to create your desired length of banner
- Turn flags inside out through unsewn top edge so that you now see the front of the pattern and the back of the fabric is inside of the flag, unseen
- Choose a long strip of fabric or ribbon
- Pin each flag to the strip of fabric or ribbon by folding the ribbon over the top of each flag
- Leave about 2 inches of space between each flag
- Sew along the top third edge of each flag so that it attaches to the ribbon
- *extra*: if time permits, get creative and personalize it with a name, initials, or the event name

Double Sided Cupcake Wrappers
- Download and print template from here
- Trace template on the backside of your chosen paper
- Cut out template shapes
- Place two shapes back to back so that the front of the paper is showing on both sides
- Glue together
- One the cupcakes have completed baking in the traditional foil wrapper, simply drop cupcake and foil wrapper down inside your new paper wrapper for instant pizazz!

Cupcake Birthday Shirt
Now, I wish I could give detailed directions for how to make this little guy, but to be honest with you, I made this little ditty on a whim with extra fabric the night before takeoff. Here's the best I can muster . . .
- On a piece of cardstock, I hand drew the cupcake
- Next, I cut each part of the cupcake out into separate pieces (cupcake top, wrapper, candle, flame)
- I then traced each piece onto my chosen fabric
- After cutting out each piece, I pinned them onto the shirt in the position that I wanted them to be sewn
- Using my sewing machine, I attached each piece to a plain white long-sleeved t-shirt

Balloon Cupcake Toppers
- Using a 2" round paper punch, punch out as many circles as desired to spell your special birthday message
- With rubber alphabet stamps and black ink, stamp letters onto the middle of the circles
- Once dried, hot glue each circle to the top of lollipop sticks (found at Michael's)


Felt Birthday Crown
Take a break and reap the rewards of other people's craftiness: shop Etsy. I found this precious felt birthday crown made by Shannon over at Flip. Skip. Jump! She did an amazingly incredible job--I just can't wait to see Noah Finn celebrate #1 in this special little hat.


